

How to Fix Steam Damage on Kitchen Cabinets
In nearly every kitchen, homeowners have to deal with two things that can cause damage to their kitchen cabinets –grease and steam. In this article, we want to show you how to fix steam damage.
Kitchen cabinets can be made from various materials and painted or stained with different chemicals. Some of these materials and chemicals may be more prone to steam damage than others, and the amount of steam will also play a part in the extent of your cabinets’ damage.
However, steam damage is not permanent, and you likely do not have to replace cabinets because of it. Instead, we’ll show you how to get steam marks off of cabinets, fix more extensive damage, and, above all, prevent steam damage from occurring.
Assess the Steam Damage on Your Cabinets
The first step you need to take if you have steam damage on your kitchen cabinets is to assess the level of damage. Surface-level stains are widespread and easy to fix, but extensive, deep wood damage might require a bit more work.
The way to identify the extent of the steam damage is to take a close look at the cabinet. Does the damage appear on both sides of the door or side of the cabinet? Does it look like peeling or softened wood? If so, you have deep steam damage, and you will need to do heavier repairs.
On the other hand, if the damage looks like a stain on the outside of the cabinet door, similar to a food stain or slight discoloration, you only have a surface-level issue that can be fixed simply and quickly.
Fixing Surface-Level Steam Damage on Kitchen Cabinets
For slight discoloration or stains on the surface of your kitchen cabinets, you only need a few tools to get started with the fix:
Two soft cloths,
A sink or bucket of warm water,
A gentle soap or cleaner that is safe for wood,
A jar or tub of coconut oil,
And paper towels.
Steps to Fixing Surface Level Damage
Begin by using one of the soft cloths and wetting it in the warm water, then use the soap or cleaner and gently clean the damaged area with the cloth. Continually rinse the cloth if it gets dirty or if you have too much soap, but do not let the cabinet get too wet. Additionally, be sure to wipe all excess soap off the cabinet with a wet cloth. When that is finished, you can gently dry the cabinet with the other cloth.
Doing this cleaning step will reveal whether the stain damage is caused by food, grease, or steam. If the stain is still there, you can know it is not a food stain. If you did not feel a greasy texture when cleaning the cabinet, you can know it is not a grease stain.
Now, having determined it is a steam stain, you can use your paper towels and coconut oil. All you have to do is take a paper towel and dip it into the tub of coconut oil, then gently rub the oil into the cabinet with the steam stain. Cover the entire area with the oil, then allow that to seep into the cabinet for several minutes. Your steam stain should now be fixed.
Fixing Extensive Steam Damage
When it comes to more extensive steam damage, including peeling and warping of the wood, you’ll want to start with the same cleanup procedure that you would do for steam stains. After completing that, you can gather the rest of the necessary tools for fixing your cabinets, including the following:
Sandpaper (120-150 grit),
A dry cloth,
Wood filler (ensure the color matches your cabinets),
A small paintbrush for the wood filler,
Paint or stain for the cabinet,
And a brush or sponge for the paint/stain.
Steps to Fixing Deep Damage
Once you’ve cleaned the cabinet, take your sandpaper and grind and smooth the damaged spot. Try to smooth out any bumps or peeled areas so that the surface of the cabinet feels even to the touch. After sanding, wipe the cabinet with a dry cloth to remove any debris or wood dust.
Now, using the wood filler and a small paintbrush, apply the wood filler to the damaged area. Carefully smooth it on, filling in cracks or depressions, then even it out so there aren’t any raised spots.
After allowing the filler to dry for the recommended time, sand it down to smooth the cabinet’s surface, then wipe the dust off with the dry cloth.
You can now apply the paint or stain you’ve chosen with a brush or sponge. Apply the paint or stain evenly and try to blend it in so it matches your other cabinets. At last, your kitchen cabinets are fixed and look as good as ever.
Preventing Cabinet Steam Damage
While fixing steam stains and damage on your kitchen cabinets is not a massive job, it is best to prevent the damage from occurring in the first place. Here are a few things you can do to accomplish this.
#1 Move Appliances
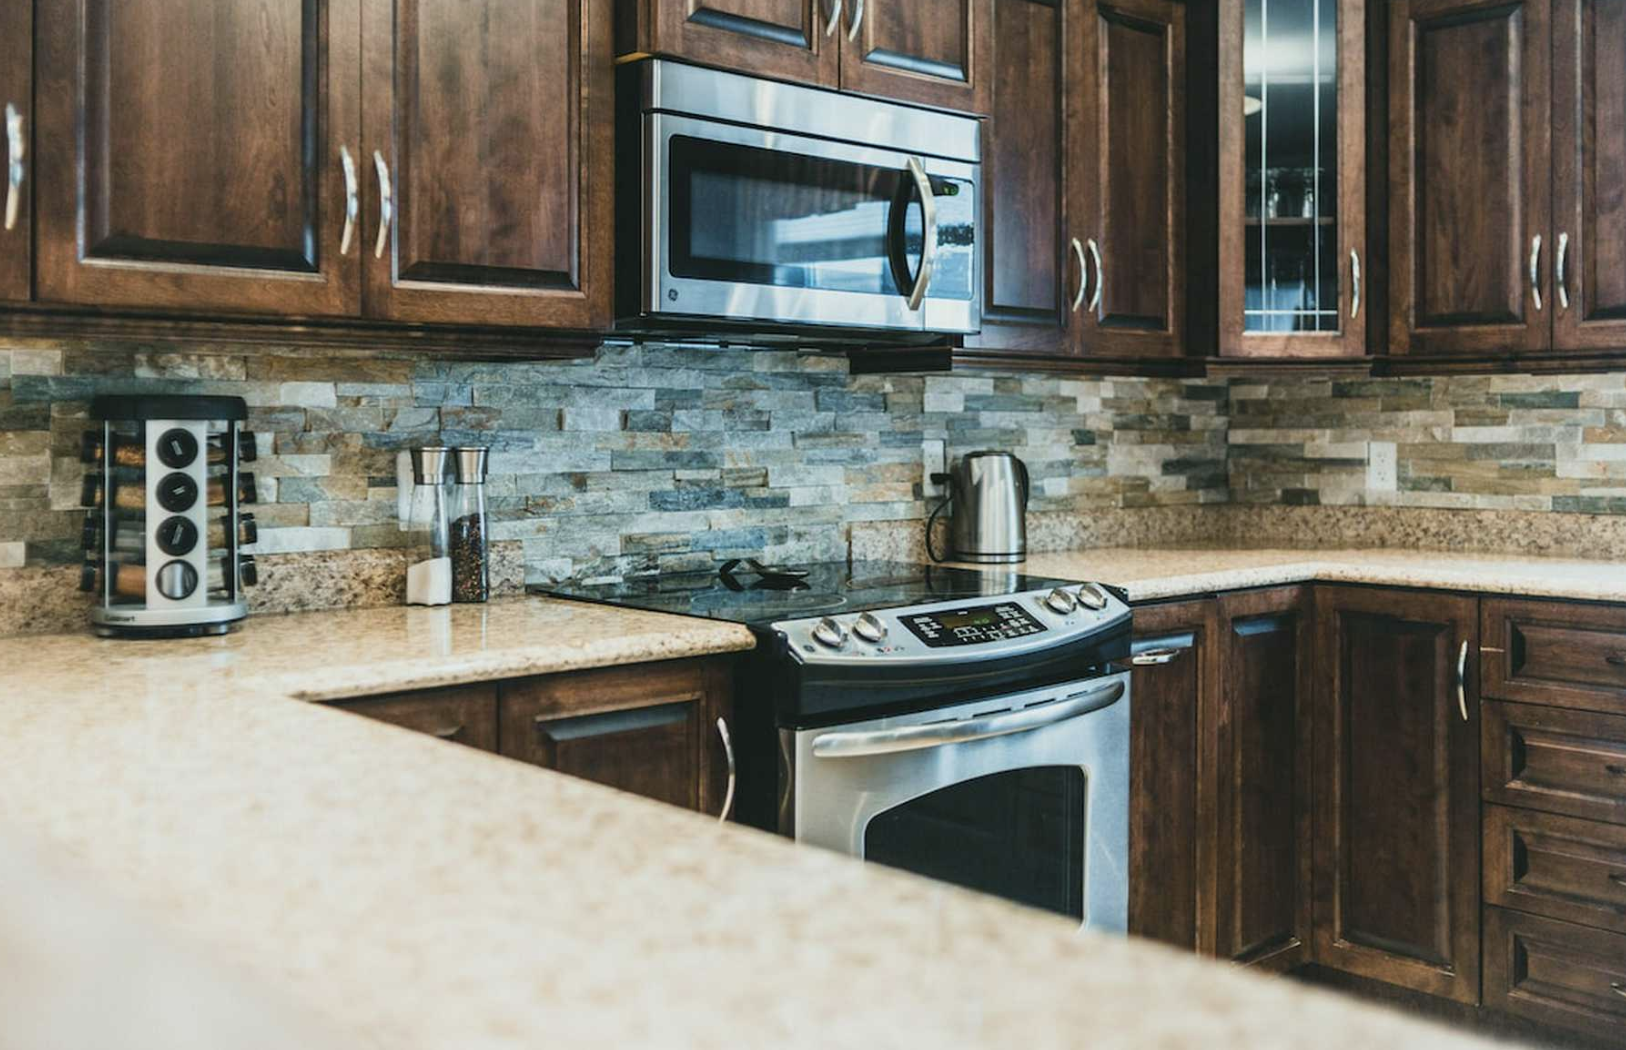
The easiest thing to do to prevent steam damage is to move portable appliances away from your kitchen cabinets. Kettles, coffee makers, toasters, and other appliances all create steam that can rise upwards if they are placed near or underneath a cabinet.
#2 Ventilate Your Kitchen
To reduce steam damage and humidity damage, make sure your kitchen is ventilated. Turn on fans and open the windows when using appliances that create a lot of steam or when the humidity in the kitchen is too high.
#3 Use the Right Cleaners
The best kitchen cabinet cleaners are formulated to clean off grease stains and other sticky substances from your cabinets. With these, you can remove the grease and sticky residue that can cause steam stains to stick. Additionally, some cleaners feature properties, like oils, that can reduce the likelihood of steam stains forming. So, by using the right cleaners, you can not only make your kitchen beautiful but take advantage of their stain-reducing capabilities.
Is it Time to Replace Your Kitchen Cabinets?
If you are remodeling your kitchen, designing a new home, or have steam damage on your kitchen cabinets that just won’t go away or has resulted in deterioration, we at Silver Lake Cabinetry are here to help. As professional designers, cabinet dealers, and installers in the New Hampshire area, our team can help you find the perfect cabinetry for your kitchen. Contact us today to schedule a consultation.